Red Velvet Hostess Cupcakes (Homemade Copycat)
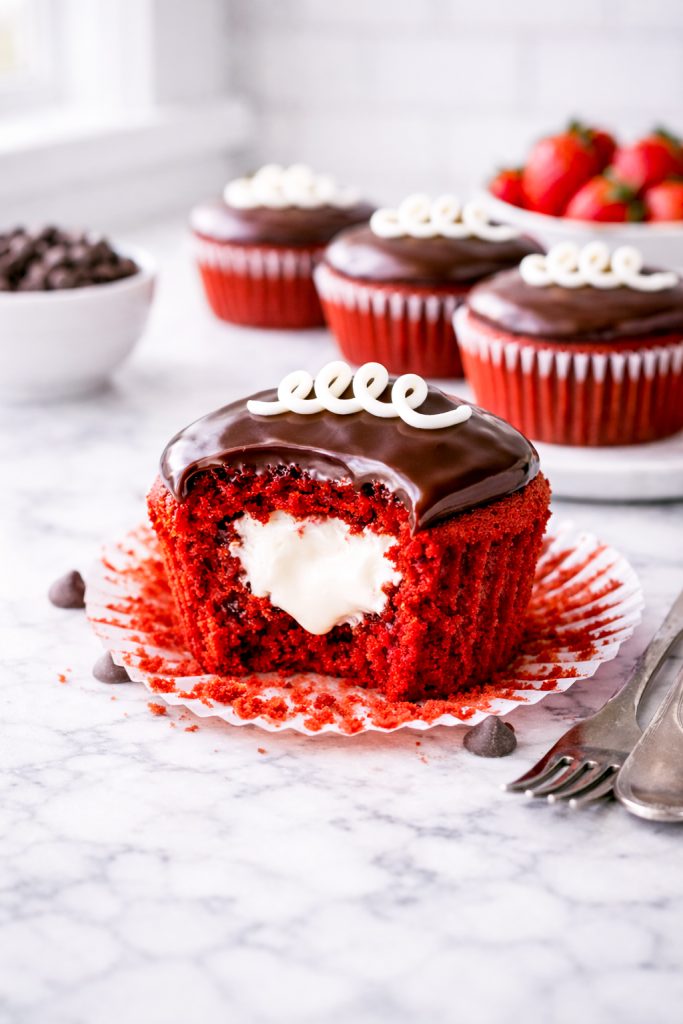
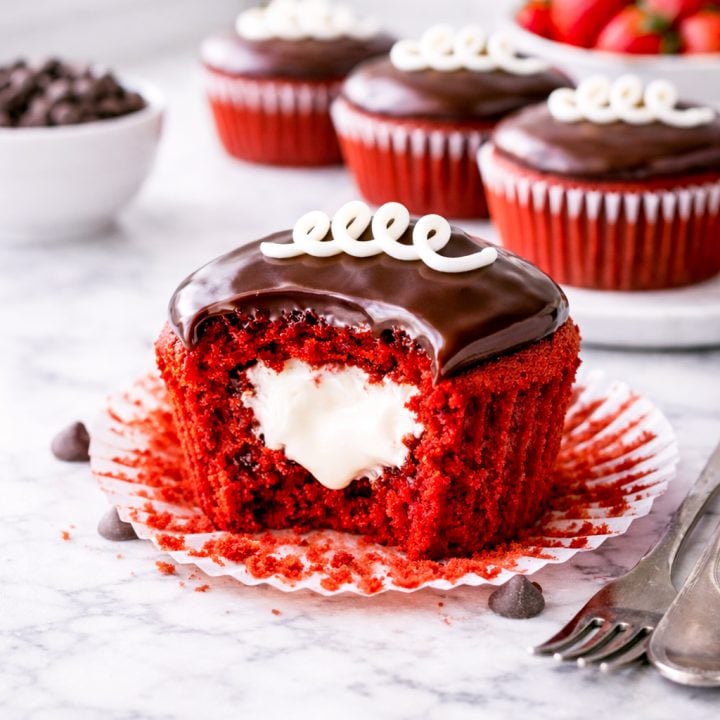
If you grew up loving a Hostess cupcake in your lunchbox, these Red Velvet Hostess Cupcakes are going to hit you right in the nostalgic feels. Rich red velvet cake, a creamy vanilla filling, glossy chocolate ganache, and that iconic white swirl on top — but made completely from scratch and way better than the boxed version. Originally posted on 2/8/2017.
These are indulgent, fun, and surprisingly doable at home. And they taste even better than they look.
Red Velvet Hostess Cupcakes (Homemade Copycat Recipe) | These homemade red velvet Hostess cupcakes have a creamy vanilla filling, glossy chocolate ganache, and the classic white swirl on top. A nostalgic dessert that’s even better than the store-bought version!
Why You’ll Love These Cupcakes
- True Hostess vibes – creamy center, shiny chocolate top, and the classic swirl
- Moist, bakery-style red velvet (no dry cupcakes here)
- Perfect for holidays like Valentine’s Day, birthdays, or bake sales
- Make-ahead friendly — great for prepping in stages
They look impressive, but I promise the steps are very manageable if you take them one at a time.
Ingredients You’ll Need
Red Velvet Cupcakes
- Red velvet cupcake batter (we use this recipe for Cake Man Raven Red Velvet Cake)
Cream Filling
- Butter
- Powdered sugar
- Vanilla extract
- Heavy cream or milk
Chocolate Ganache
- Semi-sweet chocolate
- Heavy cream
For Decorating
- Extra filling for piping the swirl

Homemade Hostess Cupcakes with Red Velvet Cake | Love Hostess cupcakes? Try this homemade red velvet version with a soft, moist crumb, fluffy cream filling, and rich chocolate topping. Perfect for Valentine’s Day or special occasions.
How to Make Red Velvet Hostess Cupcakes
1. Bake the Cupcakes
Bake your red velvet cupcakes and let them cool completely. This is important — warm cupcakes will melt the filling and ganache, and we want clean layers.
2. Core the Cupcakes
Once cooled, use a small knife or cupcake corer to remove the center of each cupcake. Save the cut-out pieces — you’ll put them back on top later.
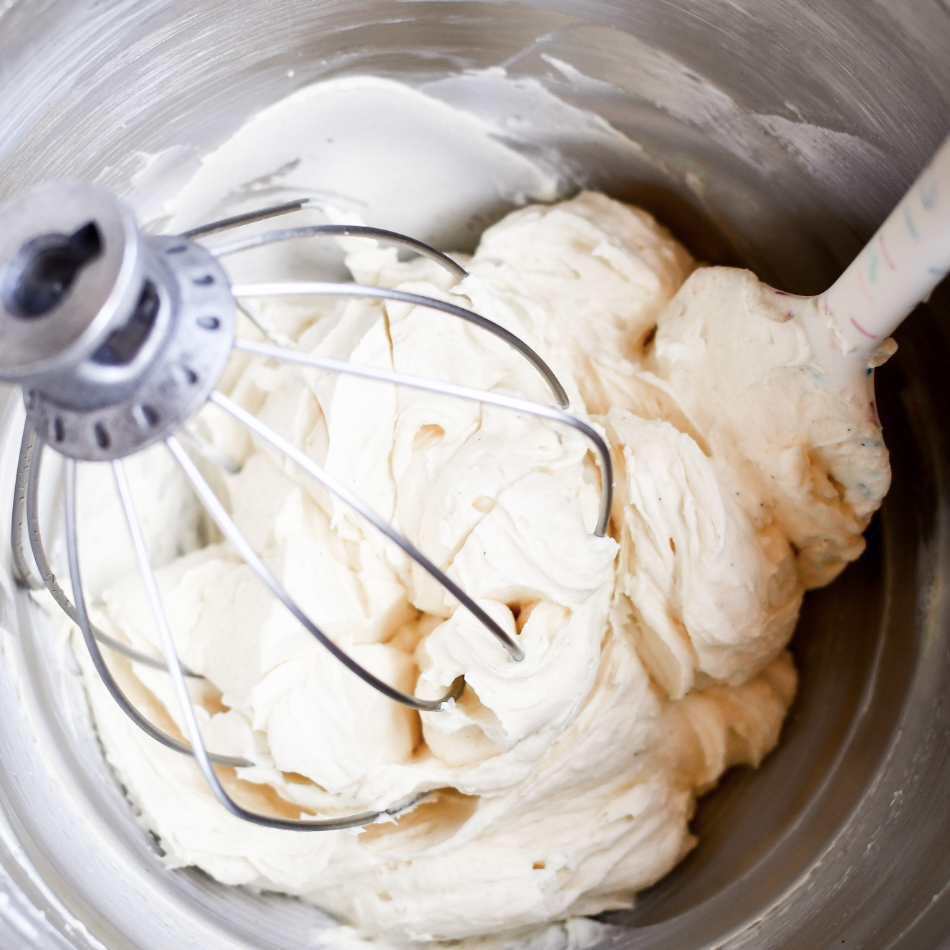
3. Make the Cream Filling
Whip together butter, powdered sugar, vanilla, and cream until smooth, fluffy, and pipeable. This filling should be creamy but sturdy enough to hold its shape.
4. Fill the Cupcakes
Transfer the filling to a piping bag and pipe it generously into the cupcake cavity. Don’t be shy — the filling is the best part.
Place the reserved cupcake “lid” back on top, gently pressing it down to seal in the filling.
5. Ganache the Tops
Warm heavy cream and pour it over chopped chocolate. Stir until smooth and glossy. Spoon or spread the ganache over each cupcake using an offset spatula, creating that classic smooth Hostess-style top.
Let the ganache set slightly before decorating.
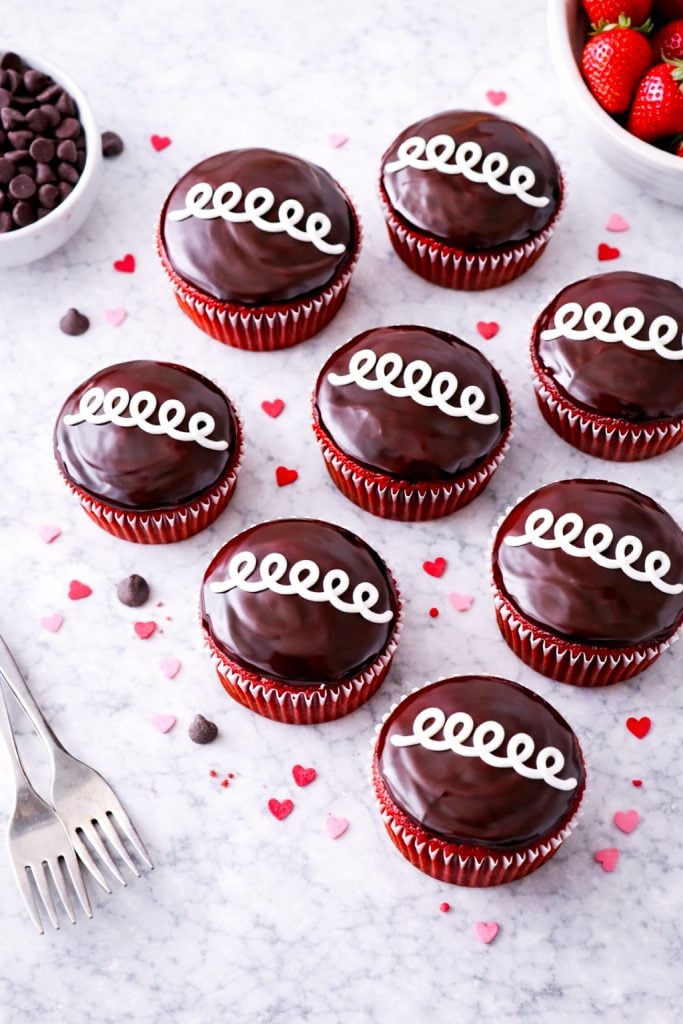
6. Add the Signature Swirl
Pipe the remaining cream filling in a loose looping swirl across the top of each cupcake. This doesn’t need to be perfect — that homemade look is part of the charm.

Homemade Hostess Cupcakes with Red Velvet Cake | Love Hostess cupcakes? Try this homemade red velvet version with a soft, moist crumb, fluffy cream filling, and rich chocolate topping. Perfect for Valentine’s Day or special occasions.
Tips for Success
- Use gel food coloring for the red velvet
Gel coloring gives you a vibrant red without thinning the batter or affecting texture. I prefer Americolor. - Let cupcakes cool completely before filling
Even slightly warm cupcakes will cause the cream filling to melt and lose structure. - Don’t overfill the centers
Fill until the cavity is full but not overflowing so the cupcake “lid” sits flat on top. - Don’t scrap the cupcake tops
Those little cut-out pieces help hide the filling and create a smooth surface for the ganache. - Let ganache cool slightly before spreading
Lukewarm ganache should be easily spreadable but not hot — this prevents drips and uneven tops. - Use an offset spatula for smooth tops
A small offset spatula gives you that classic Hostess-style finish. - Pipe the swirl last
Wait until the ganache has set slightly so the white swirl stays crisp and defined. - Keep filling soft but pipeable
If it’s too stiff, add a splash of milk or cream. Too loose? Chill for a few minutes.
Bakery-Style Red Velvet Cream-Filled Cupcakes | These bakery-style red velvet cupcakes are filled with sweet vanilla cream and finished with a chocolate ganache topping. A fun, nostalgic dessert recipe everyone will love.
Make-Ahead & Storage
- Cupcakes can be baked 1 day ahead
- Filled cupcakes can be refrigerated until ready to ganache
- Finished cupcakes keep well in the fridge for up to 3 days
- Bring to room temperature before serving for best texture
These Red Velvet Hostess Cupcakes are everything you want in a nostalgic dessert — familiar, fun, and just a little bit extra. They’re perfect when you want something that looks bakery-fancy but still feels homemade and comforting. I hope you enjoy them as much as we did!
Red Velvet Hostess Cupcakes (Homemade Copycat)
Classic Hostess-style cupcakes made with moist red velvet cake, a fluffy vanilla cream filling, glossy chocolate ganache, and the signature white swirl on top.
Ingredients
Red Velvet Cupcake Batter
- See instructions below for a link to our favorite recipe
Cream Filling + Swirl
- ½ cup unsalted butter, softened (113 g)
- 1½ cups powdered sugar (180 g)
- 2 teaspoons vanilla extract (10 g)
- 2–3 tablespoons heavy cream or whole milk (30–45 g)
- Pinch of salt
Chocolate Ganache
- 1 cup semi-sweet chocolate chips or chopped chocolate (170 g)
- ½ cup heavy cream (120 g)
Instructions
Bake the Cupcakes
- Prepare the red velvet cake batter according to the Cake Man Raven Red Velvet Cake recipe.
- Line a muffin pan with cupcake liners and fill each about ⅔ full.
- Bake according to recipe instructions, until a toothpick inserted comes out clean.
- Let cupcakes cool completely before assembling.
Make the Cream Filling
- In a medium bowl, beat the softened butter until smooth.
- Add powdered sugar, vanilla, and salt. Beat until combined.
- Add heavy cream 1 tablespoon at a time until the filling is smooth, fluffy, and pipeable.
- Transfer filling to a piping bag. Set aside.
Fill the Cupcakes
- Using a small knife or cupcake corer, cut a small circle from the center of each cupcake.
- Remove the core, saving the top piece.
- Pipe cream filling into the cavity until full.
- Place the reserved cupcake top back over the filling, gently pressing to level the surface.
Make the Chocolate Ganache
- Place chocolate in a heatproof bowl.
- Heat heavy cream until just simmering (do not boil).
- Pour hot cream over chocolate and let sit for 2–3 minutes.
- Stir until smooth and glossy.
- Let ganache cool slightly until thickened but spreadable.
Assemble the Cupcakes
- Spoon or spread ganache over the top of each cupcake using an offset spatula.
- Allow ganache to set slightly.
- Pipe the remaining cream filling in a loose swirl across the top to create the classic Hostess look.
Notes
- Let cupcakes come to room temperature before serving for the best texture.
- Store cupcakes in the refrigerator for up to 3 days.
- Bring chilled cupcakes to room temperature before serving so the ganache softens.
Nutrition Information:
Yield: 18 Serving Size: 1Amount Per Serving: Calories: 223Total Fat: 12gSaturated Fat: 8gUnsaturated Fat: 5gCholesterol: 23mgSodium: 5mgCarbohydrates: 30gFiber: 1gSugar: 28gProtein: 1g
More Delicious Red Velvet Recipes
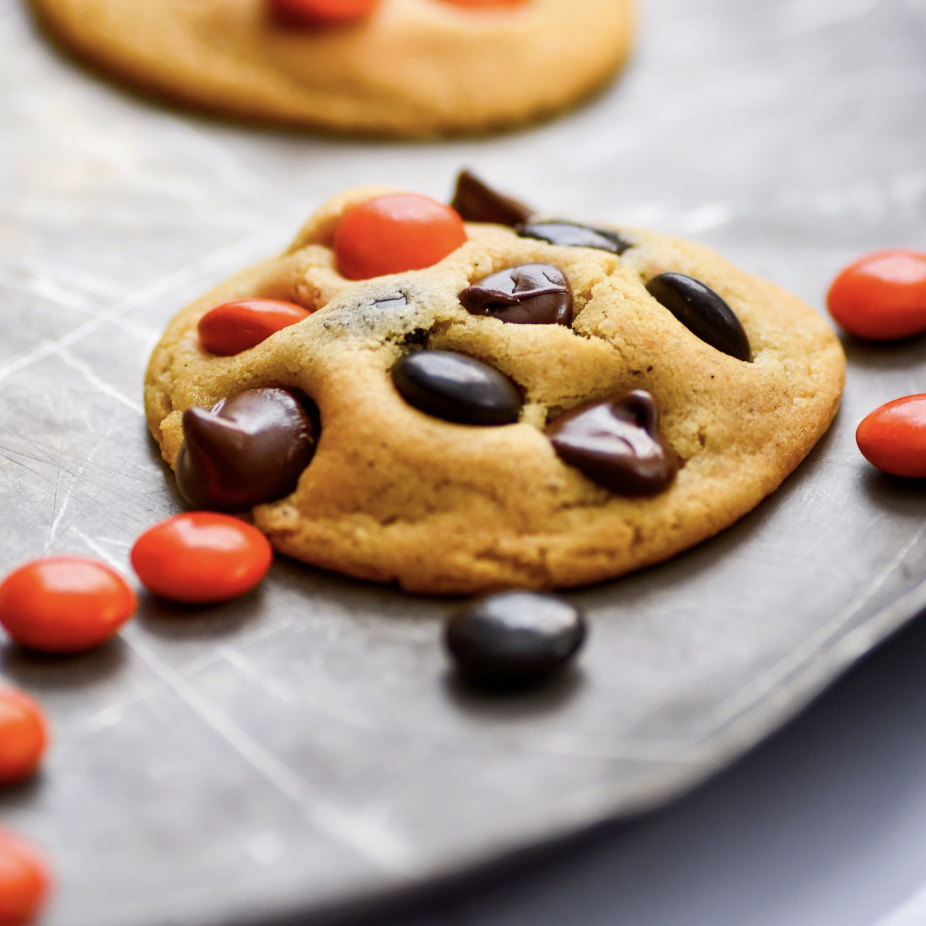
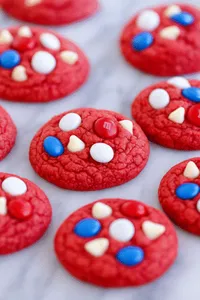
Homemade Red Velvet Cookies (No Cake Mix!)

Easy Homemade Red Velvet Cookies | Love red velvet? These homemade red velvet cookies are rich, soft, and packed with flavor—no cake mix required! A simple recipe that’s perfect for sharing.
Cake Man Raven Red Velvet Cake

Our Favorite Red Velvet Cake Recipe | Unlock the secrets to baking perfection with our Cake Man Raven Red Velvet Cake recipe.
Related Articles


Ashton • Keaton • Mia
Co-Owners at Keat's Eats
- Oreo Truffles | Easy No-Bake Oreo Balls
- Classic Muddy Buddies
- Paula Deen’s Peach Cobbler Recipe (Easy Southern Classic)
- Copycat Cafe Rio Tomatillo Dressing Recipe
- Starbucks Copycat Pumpkin Bread
- Ritz Chicken Casserole
- Gone With The Wind
- Pistachio Italian Macarons
- King’s Hawaiian Rolls Copy Cat Recipe
- One Bowl Sweet Corn Spoon Bread
- Instant Pot Blackened Chicken Burrito Bowl
- Amish Chicken and Noodles