One Smart Cookie Back to School Recipe
One Smart Cookie Back to School Recipe
As the back-to-school season kicks off, I’ve got a fun and easy recipe that’s perfect for celebrating your little scholars! This “Smart Cookie” recipe puts a creative twist on the classic cookie cake, using store-bought cookie dough to keep things simple. With just a few frosting tips, you can turn a large cookie cake into an adorable “smart cookie” complete with glasses and bright eyes. Slice it up for a lunchbox surprise or an after-school treat!

Celebrate back-to-school season with this adorable ‘Smart Cookie’ recipe! Easy, fun, and perfect for kids.
Supplies & Ingredients Needed
- 12-inch Pizza Pan: This is the perfect size for baking your large cookie cake, giving it a uniform shape that’s easy to decorate.
- Store-Bought Cookie Dough: Keep it simple and convenient with store-bought cookie dough—just press it into the pan, bake, and you’re ready to decorate!
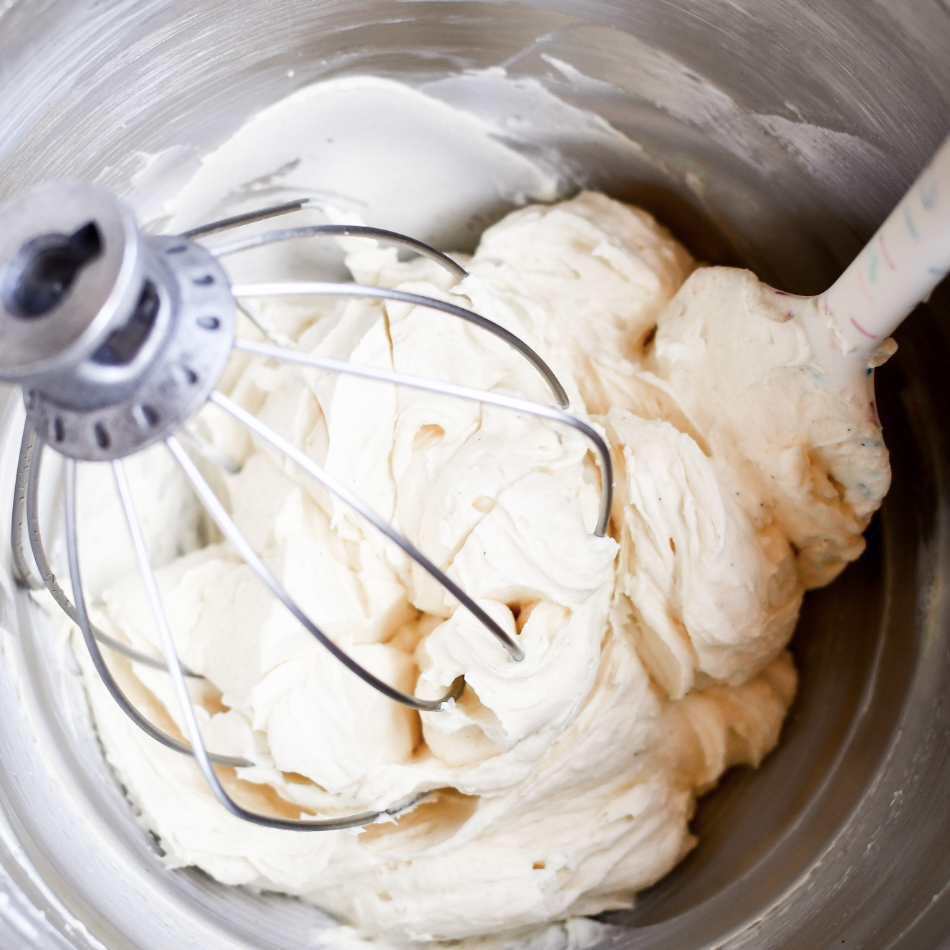
- Pillsbury Funfetti Frosting: I love using Pillsbury Funfetti frosting for decorated treats. It comes in vibrant colors that not only look amazing but also taste great, adding a fun and flavorful touch to your cookie cake. It’s nearly impossible to get the same vibrance using homemade frosting and food coloring!
- Medium Star Piping Tip: Use this piping tip to create a decorative border around the edge of your cookie cake, adding texture and flair to your design. Perfect for adding sprinkles!
- Large Round Piping Tip: Perfect for creating the cookie’s big, bright eyes. This tip will give you a clean, smooth finish for the eye shape.
- Small Round Piping Tip: Ideal for adding the finishing details like the glasses and the smile. This tip allows you to draw precise lines that bring your “Smart Cookie” to life.
- Piping Bags: You’ll need these to hold your frosting and easily switch between different piping tips for various decorating tasks.
How to Make “One Smart Cookie” Cake
1. Preheat and Bake the Cookie
Preheat your oven to 350°F (175°C). Lightly grease a 12-inch pizza pan and press the store-bought cookie dough evenly into the pan. Bake for 12-15 minutes, or until golden brown. Let the cookie cool completely in the pan.

Lightly grease a 12-inch pizza pan and press the store-bought cookie dough evenly into the pan.
2. Add the Eyes
Use a large round piping tip to pipe two large white circles for the eyes near the top center of the cookie. Add small dots of black frosting or mini chocolate chips for the pupils.

Use a large round piping tip to pipe two large white circles for the eyes near the top center of the cookie.
3. Frost the Border
Fit a piping bag with a medium star piping tip and fill it with Pillsbury Funfetti frosting. Pipe a decorative border around the edge of the cooled cookie cake.

Pipe a decorative border around the edge of the cooled cookie cake.
4. Decorate the Face
With a small round piping tip and black or dark brown frosting, pipe the outline of glasses around the eyes and add a smile beneath them.

Pipe the outline of glasses around the eyes and add a smile beneath them.
Frequently Asked Questions
Can I use homemade cookie dough instead of store-bought?
Absolutely! You can use your favorite homemade cookie dough recipe. Just make sure it’s firm enough to hold its shape when pressed into the pan and baked.
Can I freeze the cookie cake?
Yes, you can freeze the baked cookie cake before decorating it. Wrap it tightly in plastic wrap and store it in an airtight container. When you’re ready to decorate, let it thaw completely at room temperature.
What can I use if I don’t have piping tips?
If you don’t have piping tips, you can use a resealable plastic bag with a small corner snipped off. It won’t create the same precise shapes, but it will work for basic decorating.
Can I make this cookie cake gluten-free?
Yes! Simply substitute the store-bought cookie dough with a gluten-free version. Make sure all other ingredients, including the frosting, are also gluten-free.

Looking for a cute and easy treat for the first day of school? Try this ‘Smart Cookie’ recipe made with store-bought dough!

One Smart Cookie Back to School Recipe
Get ready for the school season with this creative 'Smart Cookie' recipe. Quick, cute, and super easy to make!
Ingredients
- 12-inch Pizza Pan
- Store-Bought Cookie Dough
- Pillsbury Funfetti Frosting
Instructions
1. Preheat the Oven:
- Preheat your oven to the temperature recommended on the store-bought cookie dough package (usually around 350°F or 175°C).
2. Prepare the Pizza Pan:
- Lightly grease a 12-inch pizza pan to prevent the cookie from sticking. You can use non-stick spray or a thin layer of butter.
3. Press the Cookie Dough:
- Take the store-bought cookie dough and press it evenly into the pizza pan, spreading it out to cover the entire surface. Make sure the dough is of uniform thickness for even baking.
4. Bake the Cookie:
- Place the pan in the preheated oven and bake according to the dough package instructions, usually around 12-15 minutes, or until the edges are golden brown and the center is set.
- Once baked, remove the cookie from the oven and let it cool completely in the pan.
5. Prepare the Frosting:
- While the cookie cools, prepare your Pillsbury Funfetti frosting. If you’re using multiple colors, separate the frosting into bowls and mix in food coloring as desired.
6. Decorate the Border:
- Fit a piping bag with a medium star piping tip and fill it with your chosen frosting color. Pipe a decorative border around the edge of the cooled cookie cake by gently squeezing the bag and making small, star-shaped patterns.
7. Create the Eyes:
- Attach a large round piping tip to another piping bag and fill it with white frosting. Pipe two large circles near the top center of the cookie to form the eyes.
- Add a small dot of black frosting or use mini chocolate chips for the pupils.
8. Add the Glasses:
- Using a small round piping tip, fill a piping bag with black or dark brown frosting. Carefully pipe the outline of glasses around the eyes, creating two circles that connect in the middle. Add arms to the glasses on each side.
9. Draw the Smile:
- With the same small round piping tip, use more frosting to draw a simple smile beneath the eyes. Start from one side of the face, curve gently downward, and end on the other side to create a cheerful expression.
10. Add Finishing Touches:
- If desired, you can add extra details like rosy cheeks using a small dab of pink frosting or sprinkles. You can also write a fun back-to-school message or add more decorative elements to suit your style.
11. Serve and Enjoy:
- Once you’re satisfied with your design, carefully lift the cookie cake from the pan using a spatula and transfer it to a serving platter. Slice it up and enjoy your adorable "Smart Cookie" with family and friends!


Ashton • Keaton • Mia
Co-Owners at Keat's Eats
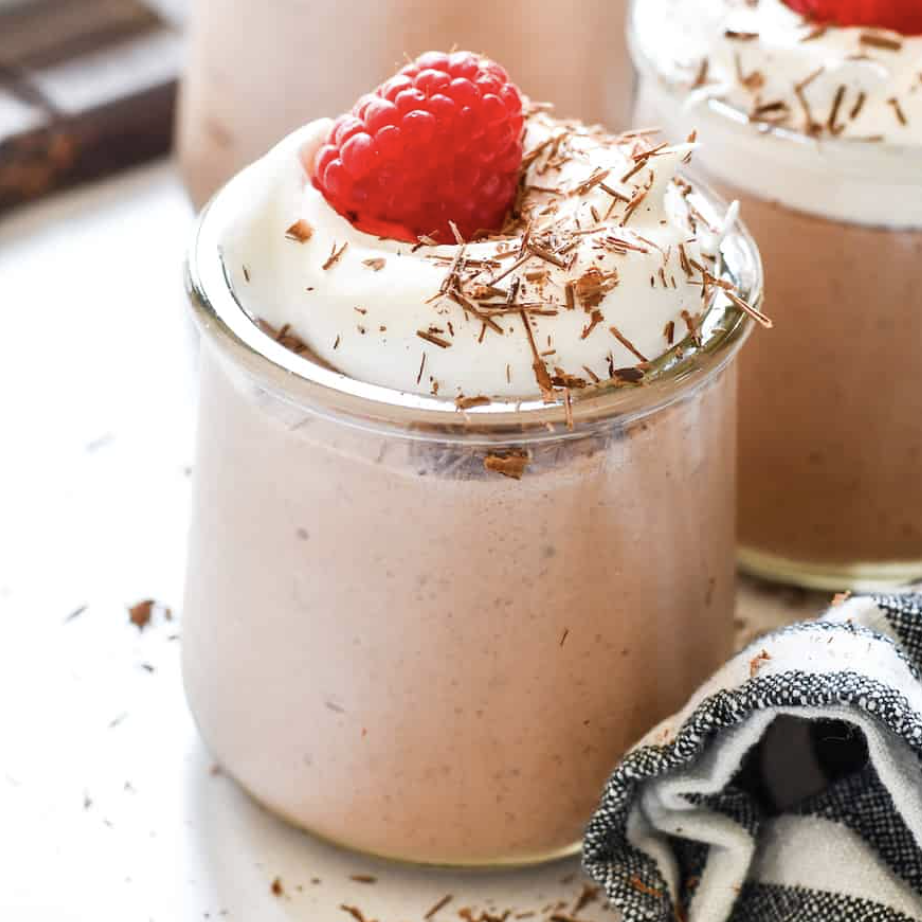
- Oreo Truffles | Easy No-Bake Oreo Balls
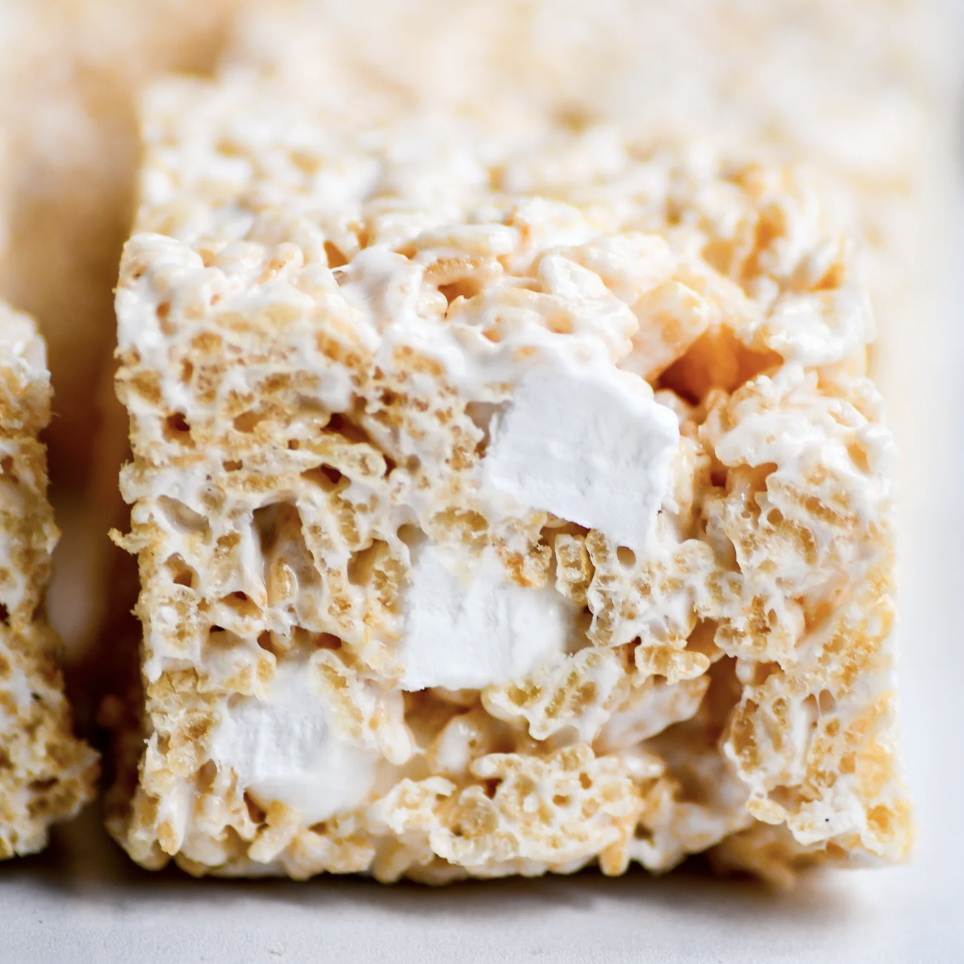
- Classic Muddy Buddies
- Paula Deen’s Peach Cobbler Recipe (Easy Southern Classic)
- How to Dye Easter Eggs with Food Coloring in the Instant Pot
- Easy All Butter No Chill Pie Crust Recipe
- 13 Autumn Soup Recipes
- The 20 Best Poke Cake Recipes
- Authentic Italian Lasagna Recipe
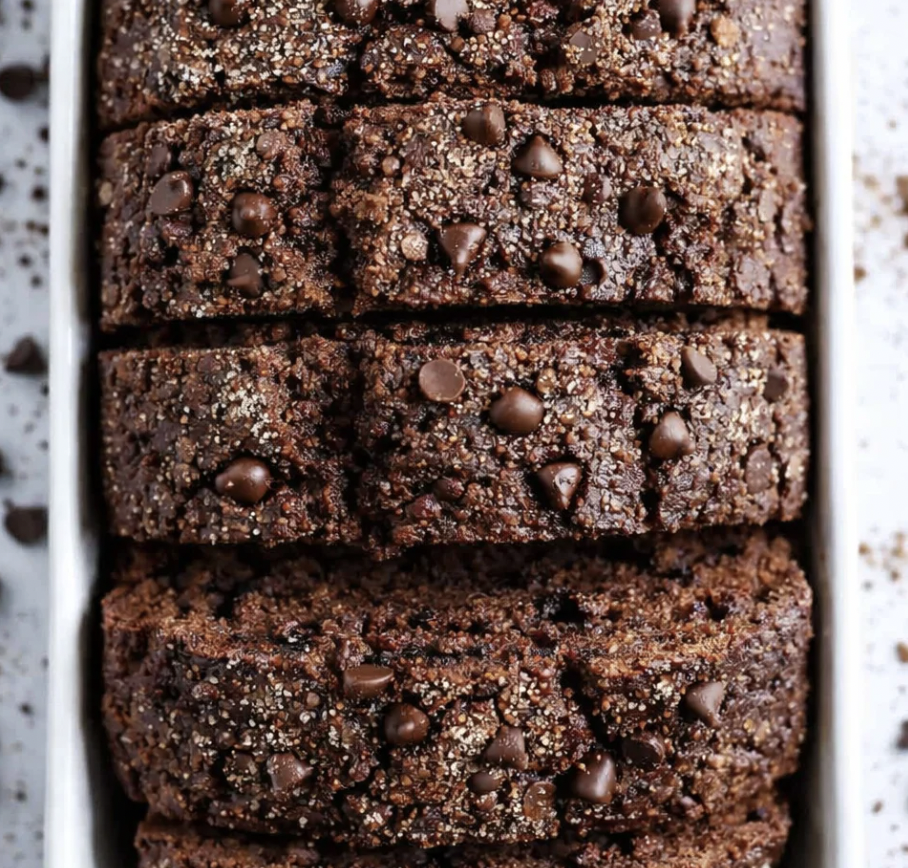
- Protein Chocolate Donuts Recipe
- Homemade Chocolate Easter Bunny (Hollow)
- Extra Crispy Oven Baked French Fries
- Cream Cheese Bean Dip