There’s something magical about a fresh blanket of snow, and it’s the perfect opportunity to make a nostalgic winter treat: homemade snow cream! This easy snow cream recipe is a simple and fun way to transform freshly fallen snow into a creamy, sweet dessert that’s perfect for the whole family. With just a few basic ingredients you likely already have at home, you can whip up this frosty favorite in minutes. Whether you’re snowed in or looking for a creative way to enjoy winter, this recipe is the ultimate guide to making snow cream your new seasonal tradition.
Craving something extra cozy to go with your snow cream? Don’t miss out on our mom’s famous homemade hot chocolate mix! It’s the perfect companion for a chilly winter day.
Easy Snow Cream Recipe for Winter Fun | Discover how to make this simple and delicious snow cream recipe with just a few ingredients and fresh snow. Perfect for snowy days and family fun!
How to Make Homemade Snow Cream without Sweetened Condensed Milk
Even though we love using sweetened condensed milk for its ease and creamy texture, you can absolutely make snow cream without it! If you prefer a lighter version or don’t have sweetened condensed milk on hand, here’s how you can make snow cream using regular milk and sugar.
Homemade Snow Cream
Ingredients:
1 cup of whole milk (for a creamier texture, you can also use heavy cream or half-and-half)
1/2 cup granulated sugar (adjust to taste)
1 tsp vanilla extract (optional, for added flavor)
Prepare the Snow:
Make sure to gather clean, fresh snow. You’ll need about 6-8 cups of snow for this recipe, depending on how much snow cream you want to make. It’s best to collect the snow as soon as it falls to ensure it’s fresh and uncontaminated.
Mix the Milk and Sugar:
In a bowl or large mixing cup, combine the milk and granulated sugar. Stir well until the sugar is fully dissolved. If you want to add a bit of extra flavor, you can also stir in vanilla extract at this point.
Combine with the Snow:
Slowly pour the milk mixture over the snow. Start with about 2 cups of snow and add the milk mixture in small amounts, stirring gently as you go. Continue to add snow and mix until you reach your desired consistency—thick and creamy, but still scoopable.
Serve Immediately:
Once your snow cream is fully mixed and creamy, serve it right away! Spoon it into bowls or cones, and enjoy it while it’s cold and fresh.
This version of snow cream is slightly lighter than the sweetened condensed milk version but still just as delicious and fun to make!
Homemade Snow Cream: A Fun Winter Treat | Enjoy the magic of snow with this easy homemade snow cream recipe. A creamy, sweet treat for snowy days that the whole family will love!
Variations
Traditionally, snow cream is kept simple and sweet with just vanilla, making it a nostalgic and easy treat. However, this recipe is a great starting point for getting creative, especially with kids! You can add fun colors by mixing in food coloring or make it extra special with sprinkles, mini chocolate chips, or candy pieces. The possibilities are endless, and it’s a fun way to get the little ones involved in making their own custom snow cream creations!
Here are Some Fun Flavor Ideas
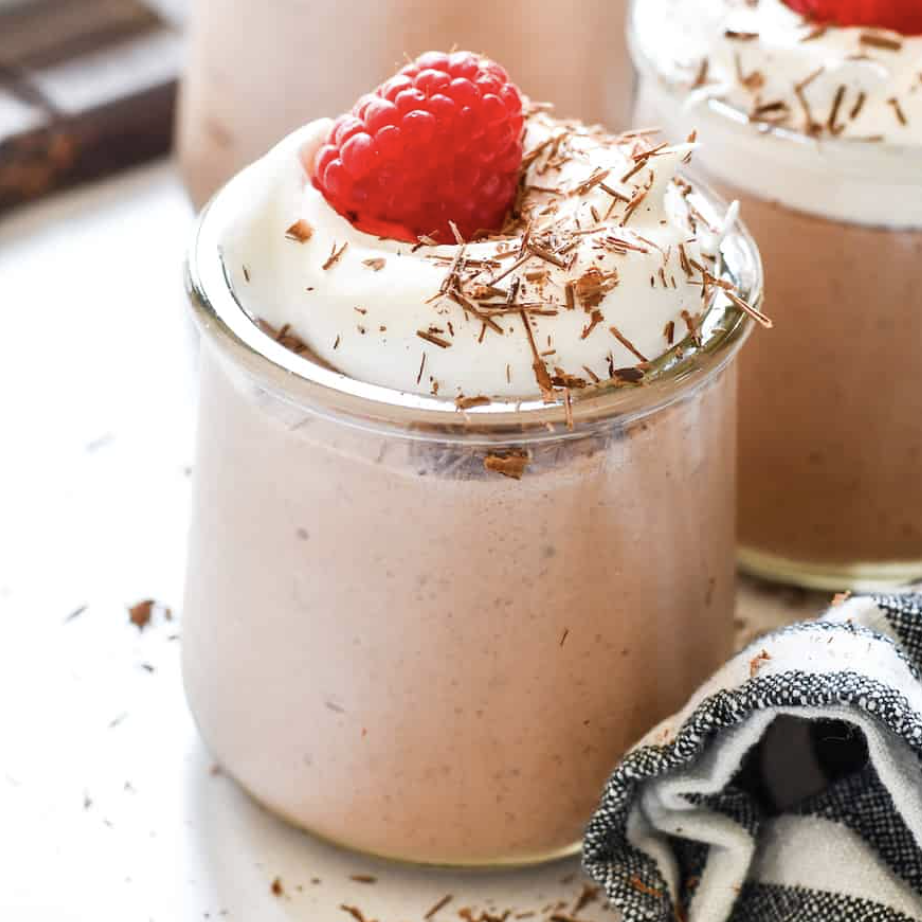
1. Chocolate Snow Cream
Add 2-3 tablespoons of cocoa powder to the milk and sugar mixture (or sweetened condensed milk) for a rich, chocolatey twist. If you prefer a sweeter version, you can also add a bit of chocolate syrup or mini chocolate chips for extra indulgence!
2. Cinnamon Snow Cream
For a cozy, spiced flavor, mix in 1/2 teaspoon of ground cinnamon to the mixture. This adds a warm, comforting touch that’s perfect for winter and is giving horchata vibes.
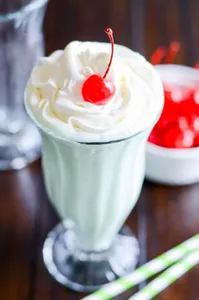
3. Mint Snow Cream
Add 1/2 teaspoon of peppermint extract or a few drops of mint extract to the mixture. You can also sprinkle crushed peppermint candies or chocolate mint cookies on top for a festive, minty treat!
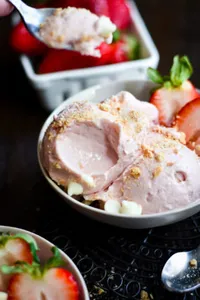
4. Fruit-Infused Snow Cream
Puree 1/2 cup of fresh or frozen fruit, like strawberries, blueberries, or mango, and mix it into the sweetened condensed milk before combining with the snow.
7. Maple Snow Cream
Replace the granulated sugar (in the from-scratch version above) with maple syrup for a naturally sweet, rich flavor. This variation is perfect for anyone who loves the taste of maple and makes for a wonderfully unique snow cream! Note: this variation is only for the version of snow cream made with milk and sugar (not sweetened condensed milk).
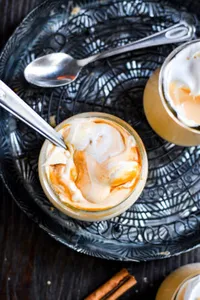
8. Caramel Snow Cream
Drizzle caramel sauce into the snow cream mixture and swirl it through for a decadent, dessert-like treat. You can even top it with a sprinkle of sea salt for a salted caramel version.
9. Vanilla Bean Snow Cream
For a more indulgent, rich flavor, scrape the seeds from 1 vanilla bean pod and add them to the mixture. This version takes your snow cream to the next level with its deep, aromatic vanilla flavor.
Feel free to mix and match these variations or get creative with your own! No matter what flavor you choose, these snow cream variations are sure to make your winter days even sweeter.
Fun and Easy Snow Cream Recipe for Snowy Days | Enjoy a snowy day with this quick and easy snow cream recipe. A family-friendly treat made with fresh snow and simple ingredients!
Snow cream is a fun and easy way to enjoy the winter season, and with so many ways to customize it, the possibilities are endless!
If you’re looking for another fun and cozy treat to pair with your snow cream, be sure to check out our Hot Chocolate Marshmallow Cookies. They’re the perfect companion for a chilly day, offering a delicious blend of chocolate, marshmallows, and fun in every bite!
Enjoy a snowy day with this quick and easy snow cream recipe. A family-friendly treat made with fresh snow and simple ingredients!
No Ratings
Ingredients
6-8 cups of fresh, clean snow (collected outside to prevent rapid melting)
1 can (14 oz) sweetened condensed milk
1 teaspoon vanilla extract
Instructions
Gather Your Snow: Head outside and collect 6-8 cups of fresh, clean snow. It's best to gather the snow quickly before it starts to melt. Use a clean container to make sure the snow stays free of dirt or debris.
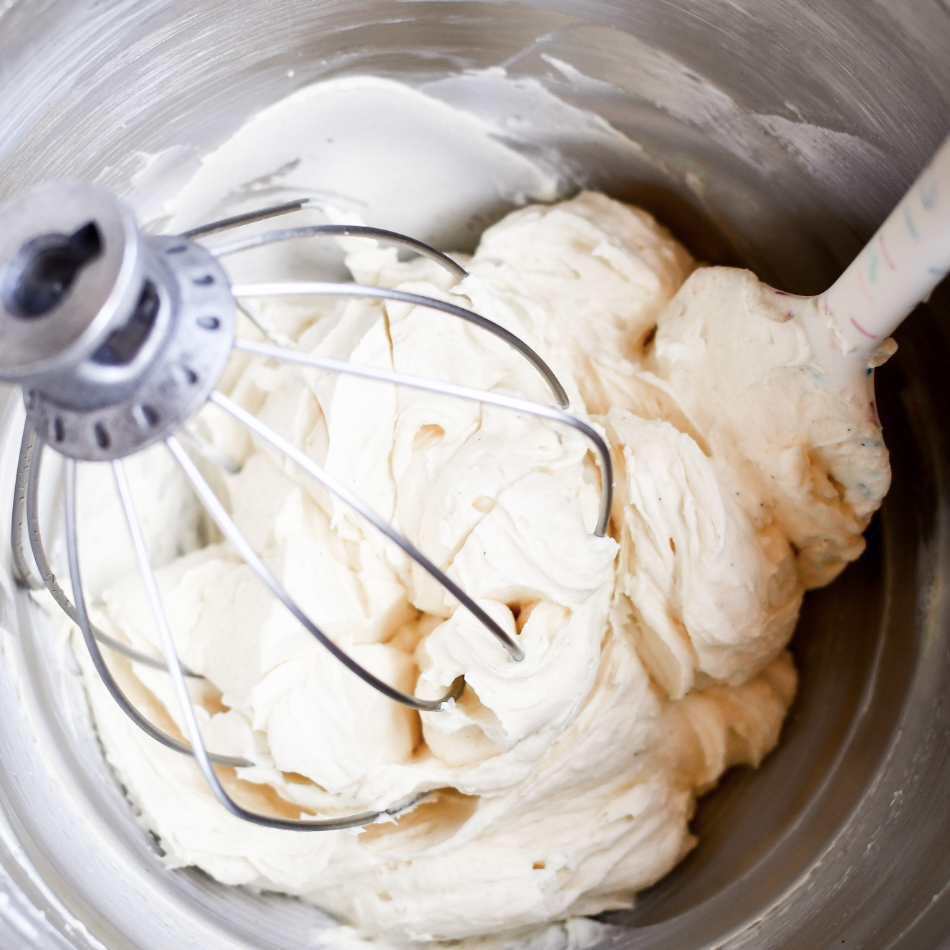
Mix the Ingredients: In a large bowl, pour in the sweetened condensed milk and add the vanilla extract. Whisk the mixture by hand or use a hand mixer until the ingredients are fully combined and smooth.
Add the Snow: Slowly begin to add the snow to the milk mixture, about 2 cups at a time. Gently stir the snow in with a spatula or continue to whisk by hand (or with a hand mixer on low speed) until the snow is fully incorporated. Continue adding snow until the snow cream reaches your desired consistency—thick, creamy, and easily scoopable.
Serve Immediately: Once the snow cream is well mixed, scoop it into bowls or cones and enjoy right away! Snow cream is best eaten fresh, as it may melt quickly.
Notes
Make sure to gather the snow outside to keep it fresh and cold, helping it maintain its texture when mixed with the condensed milk.
Feel free to customize your snow cream by adding sprinkles, chocolate chips, or food coloring for a fun twist!
Ashton and Keaton began blogging together in 2016 as a passion project. Both siblings are lovers of food, family gatherings, and entrepreneurial pursuits, which made starting a food blog together a no-brainer.
👋🏻 Hi and welcome! I'm Ashton, and I've been sharing crowd-pleasing desserts for busy families since 2010. I believe in simple recipes that actually turn out, use easy ingredients, and don't take all day.